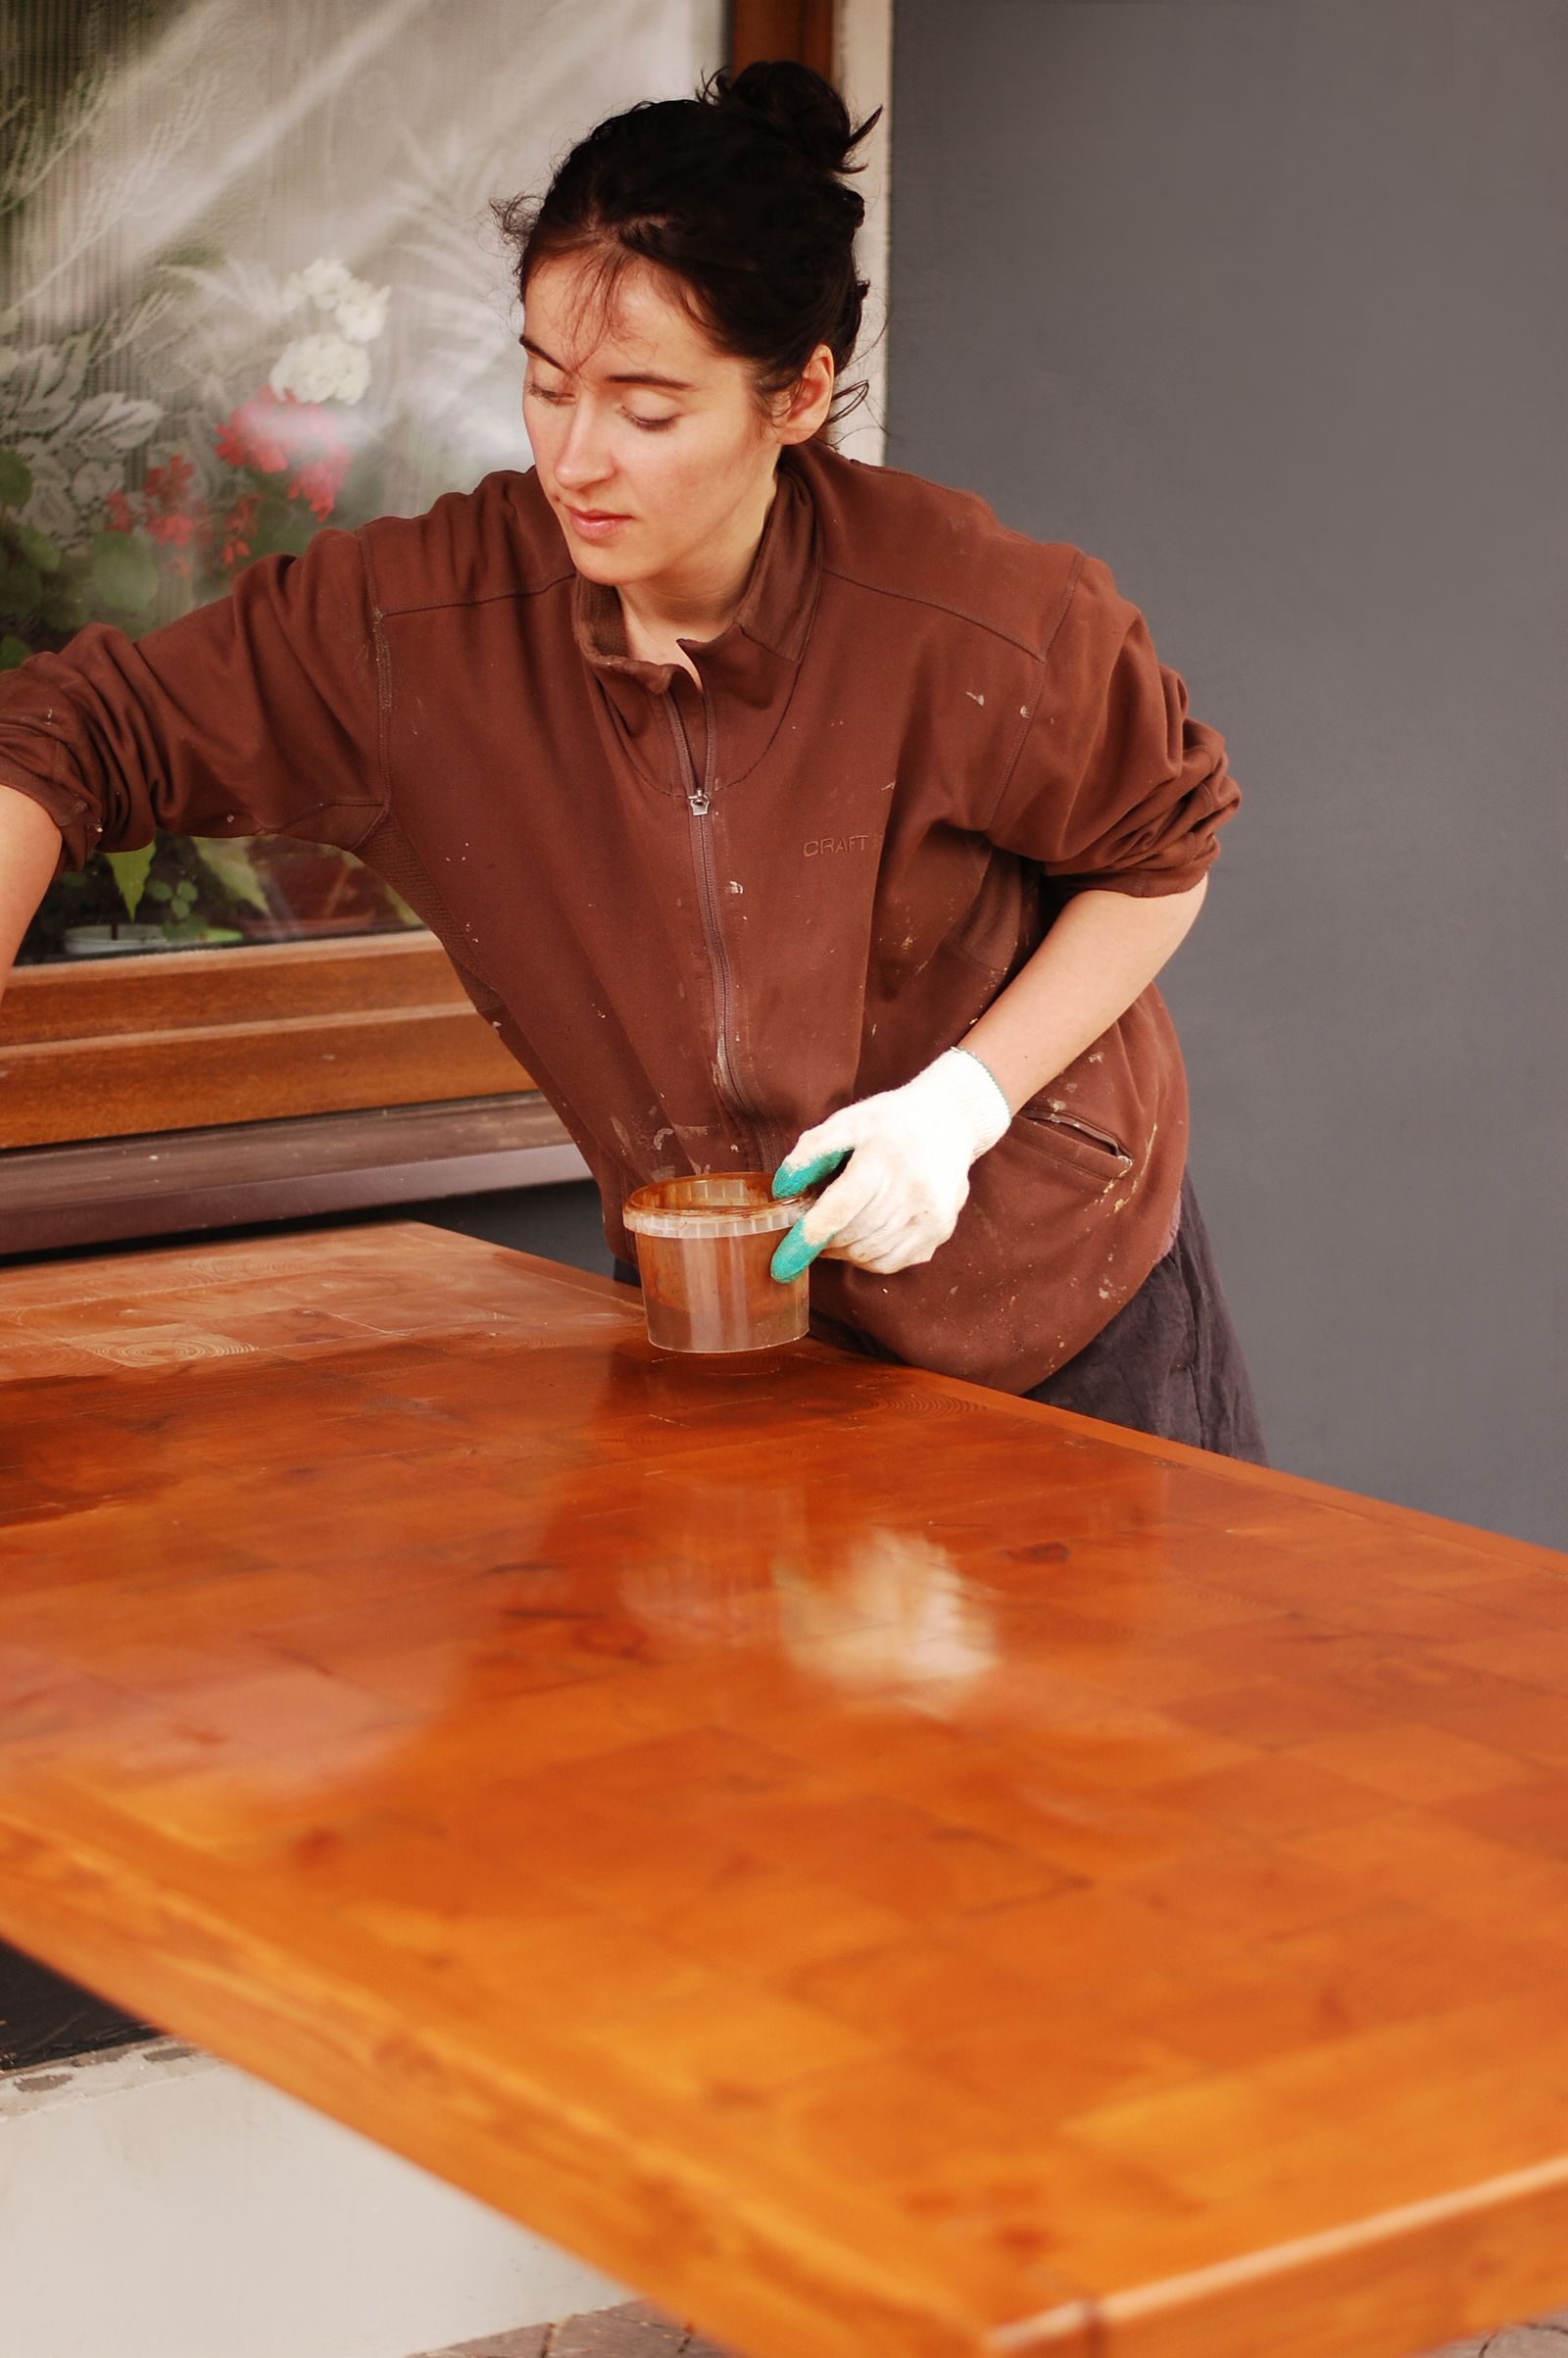
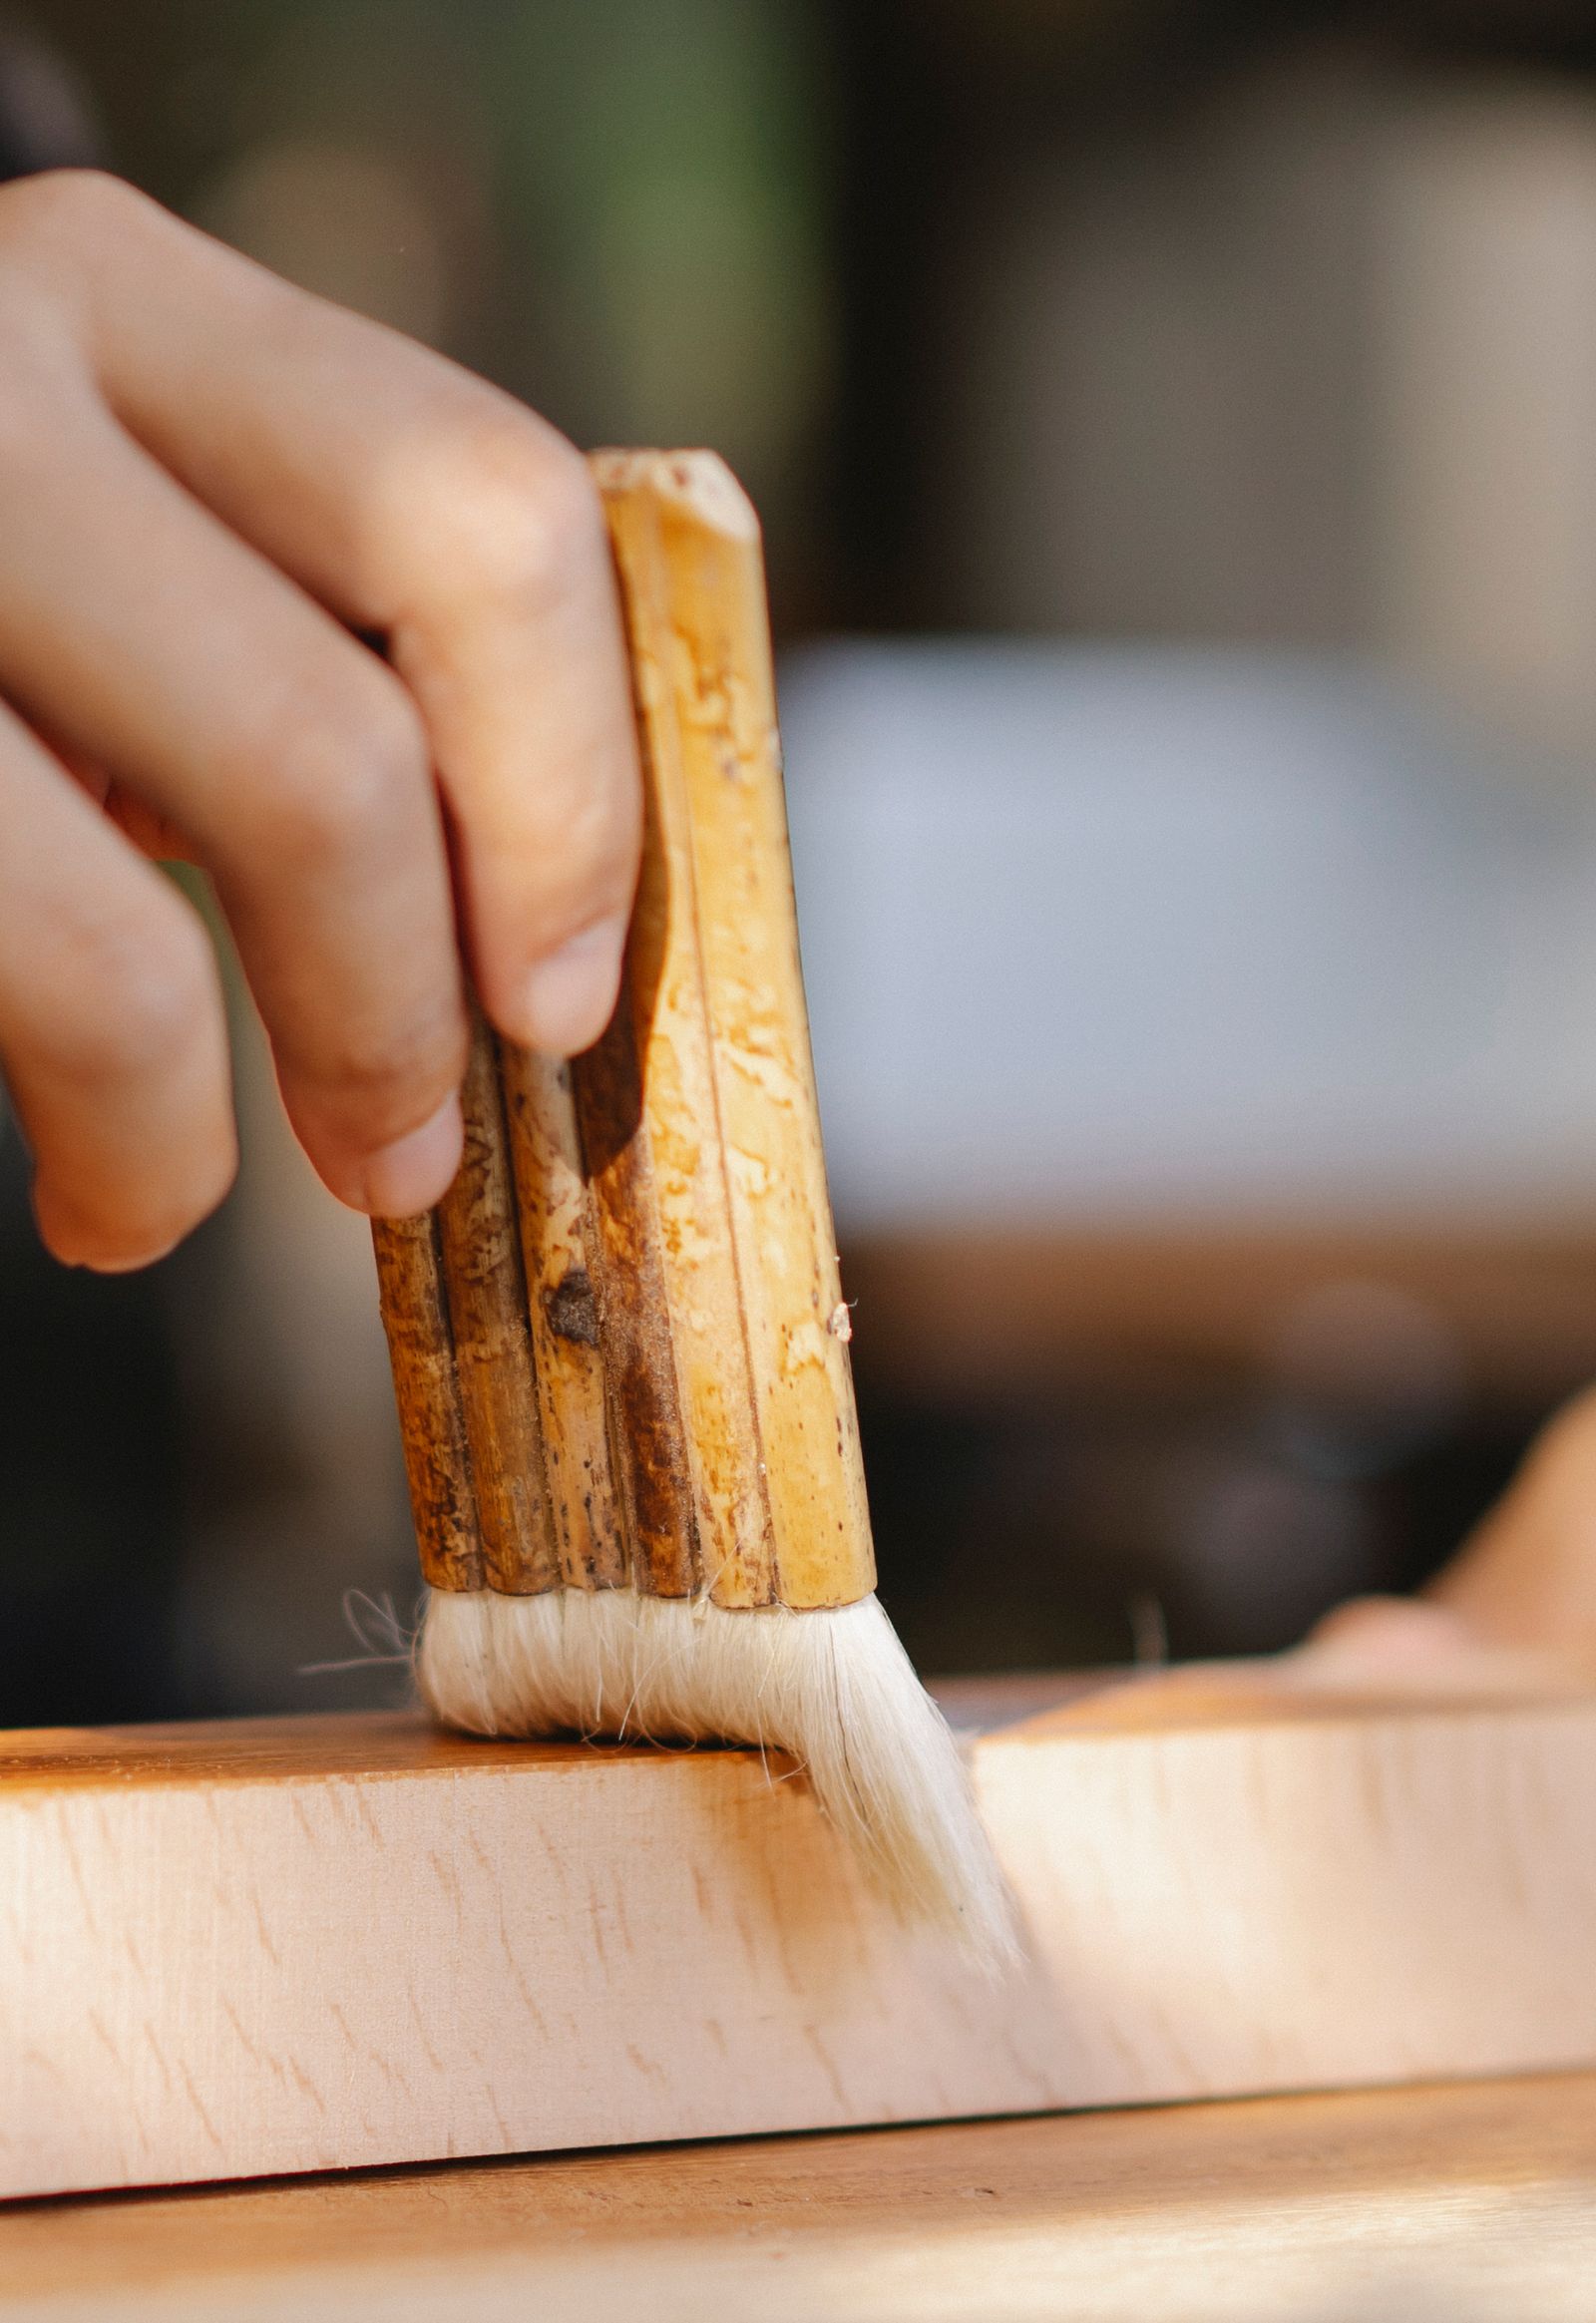
Restoring vintage wood brings a unique satisfaction, yet picking the wrong protective coat ruins weeks of careful sanding and scraping. Old timber breathes differently than fresh lumber, and applying a heavy modern plastic shield suffocates the grain while hiding decades of accumulated character. Every vintage piece demands a finish that respects its age, complements its wood species, and stands up to daily use without looking like a synthetic tabletop.
Understanding what sat on that wood originally dictates your next move, because mixing incompatible substances leads to bubbling, peeling, or a dull, muddy haze. Take time to test your chosen product on a hidden underside or a spare scrap of similar vintage hardwood before touching the main surface. The right choice enhances chatoyancy, deepens the natural color tones, and protects the fibers from moisture.
Comparing Traditional Wood Finishes
Selecting a protective coating requires weighing the distinct properties of wax, natural oil, shellac, and varnish against your specific restoration goals. Each material behaves differently under a brush, reacts uniquely to household spills, and ages through distinct stages over the years. Some highlight fine grain patterns while offering minimal defense, whereas others create impenetrable shields at the cost of a plastic feel.
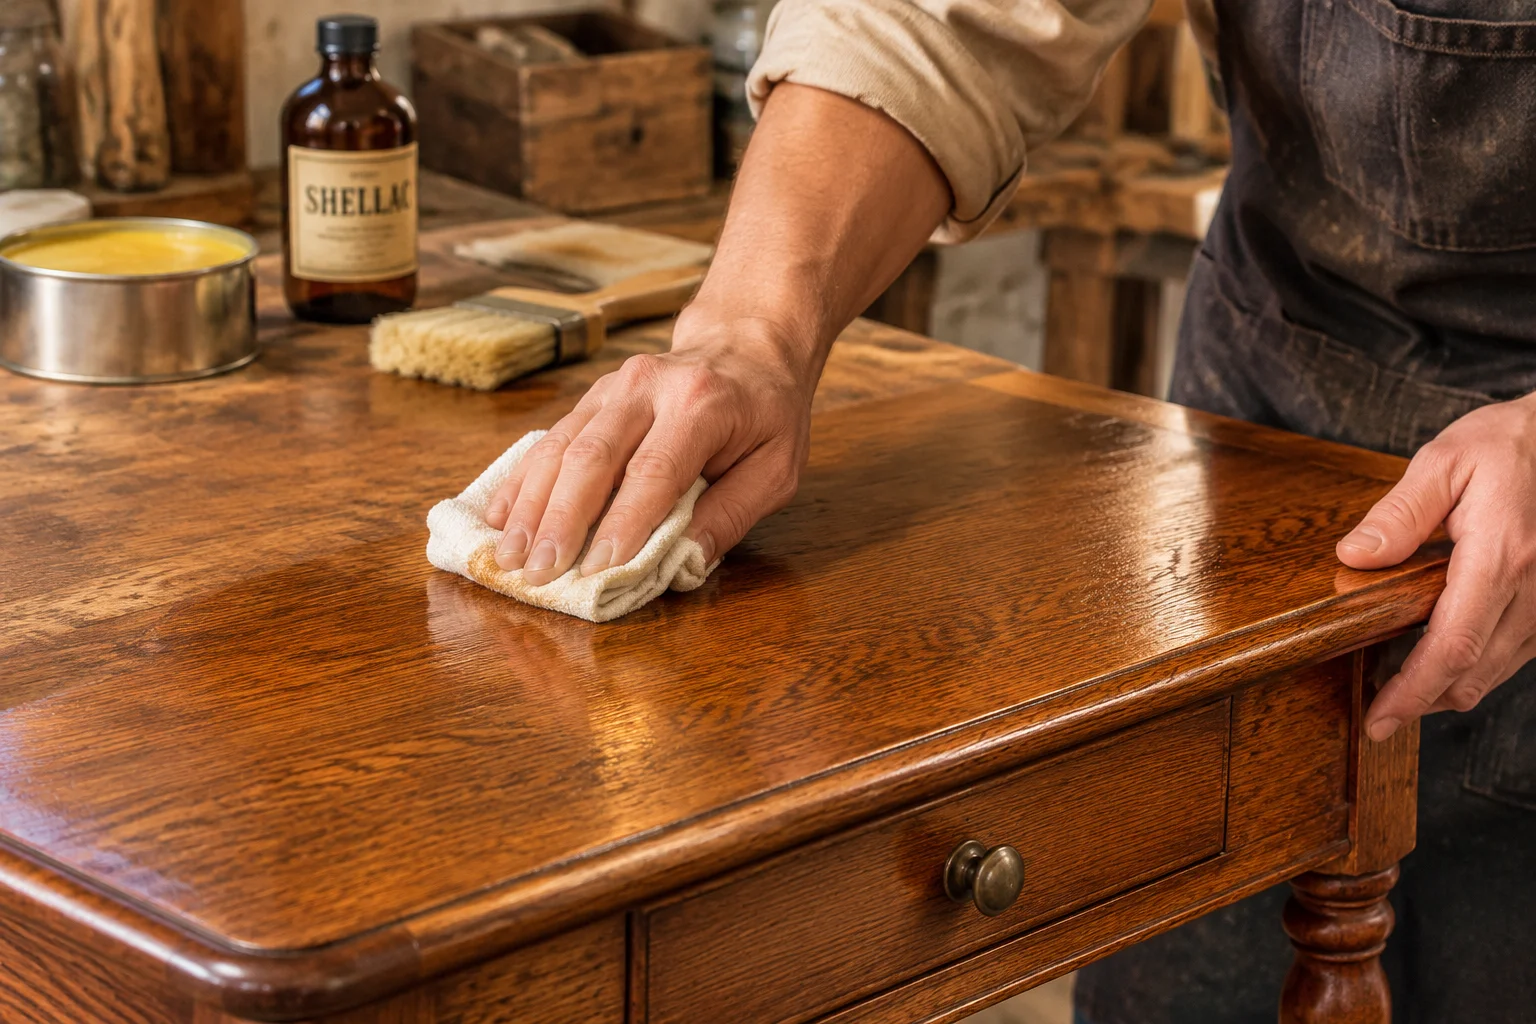
Natural oils sink deep into wood pores, nourishing dry fibers and producing a warm, low-luster touch that feels genuinely organic. Shellac dries almost instantly, cures to a brilliant amber clarity, and repairs effortlessly with a dab of alcohol, though it melts under hot mugs and strong solvents. Varnish builds a tough, waterproof armor that shrugs off heavy kitchen use, but stripping it away later requires aggressive chemical solvents or tedious scraping.
Step-By-Step Application Methods
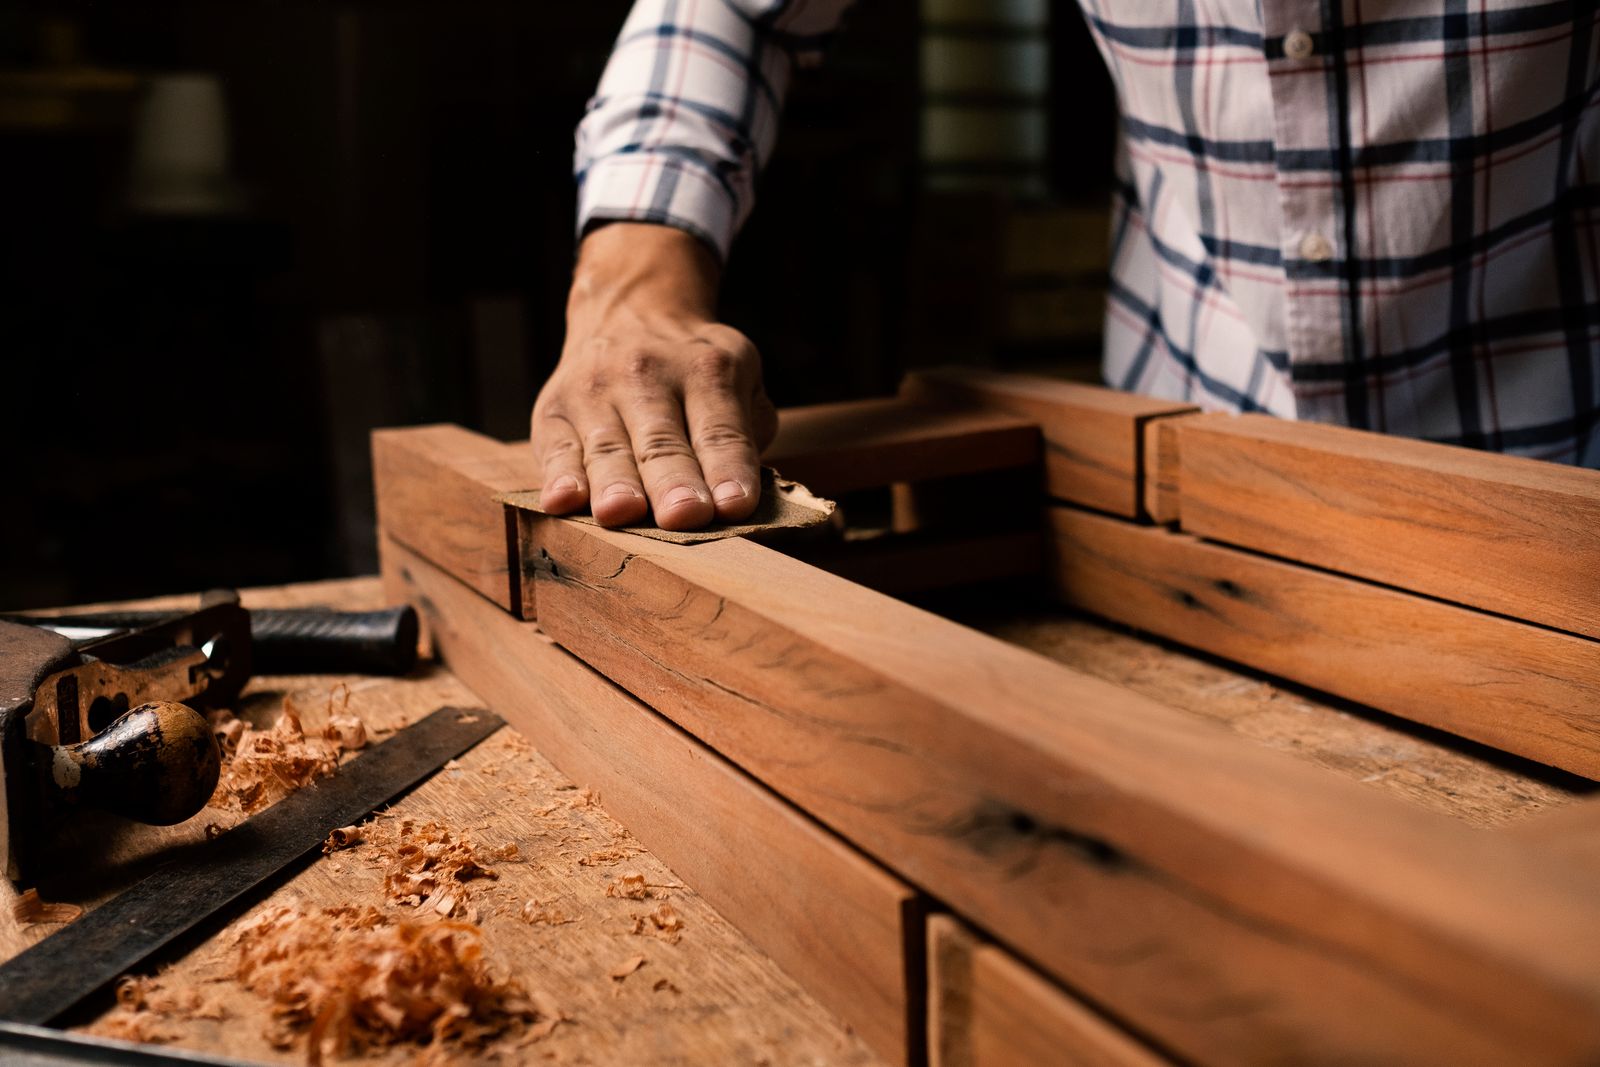
Applying these finishes successfully relies entirely on meticulous surface preparation, proper lighting, and patience between coats. Wipe down your sanded wood with mineral spirits to lift lingering dust and reveal any stray scratches before opening any cans or jars. Work in a well-ventilated room with stable ambient temperatures to ensure even drying times across large surfaces like tabletops and cabinet doors.
- Sand the wood progressively up to 220 grit and vacuum all dust thoroughly.
- Pour a small amount of finish onto a clean cotton cloth or pad.
- Rub the product firmly along the grain in long, overlapping strokes.
- Allow the material to penetrate for ten minutes before wiping off excess.
- Buff the surface vigorously with a dry microfiber cloth after curing.
- Apply subsequent thin coats following identical sanding and wiping routines.
When working with wax, apply a thin layer in circular motions, let it haze over for twenty minutes, and buff it out until your arm aches. For shellac, load a French polishing pad and glide it across the wood in figure-eight patterns without lingering in one spot. Linseed or tung natural oil requires multiple wet-on-wet applications until the wood refuses to drink any more liquid, halting the absorption entirely.
Long Term Care And Maintenance
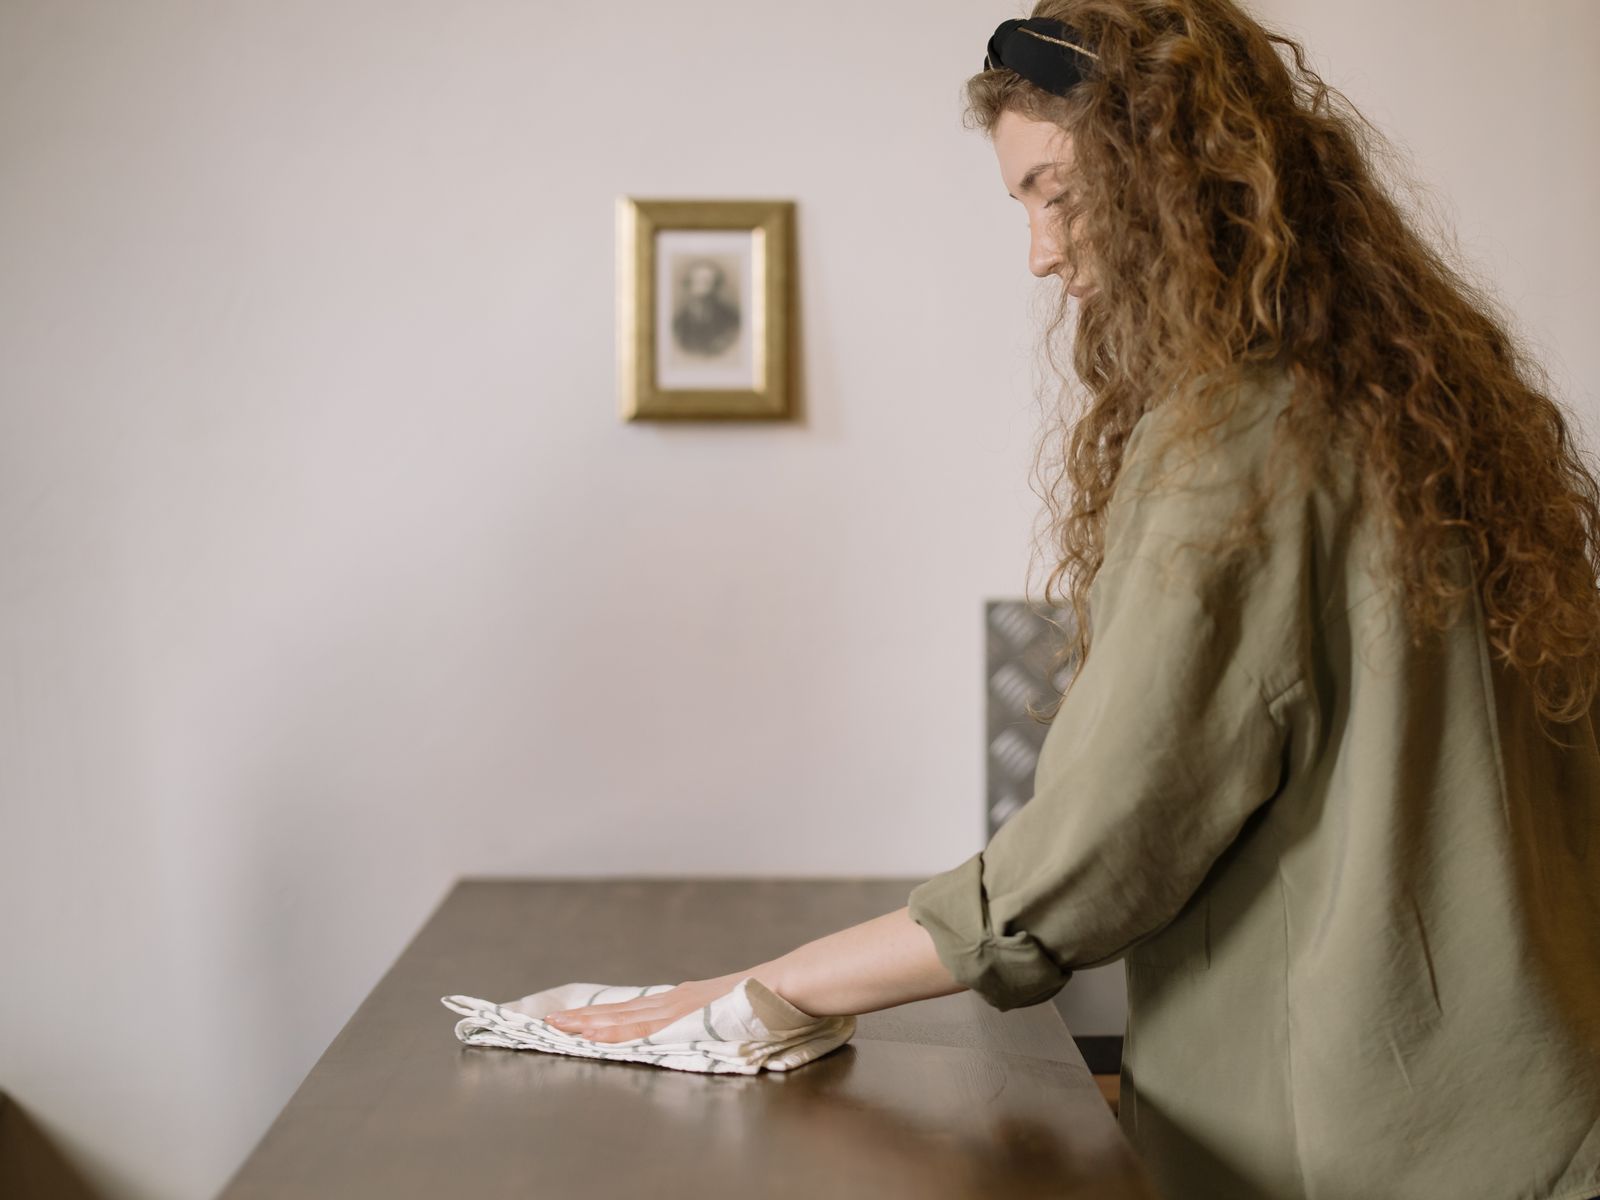
Preserving a newly applied finish keeps vintage furniture looking rich for generations without requiring a complete strip-down every decade. Keep restored pieces away from direct sunlight and heating vents, as extreme temperature swings cause old wood to expand and crack the protective layer above it. Dust surfaces regularly with a dry, soft cloth rather than drenching them in silicone-heavy commercial sprays that leave greasy films behind.
Minor scratches in wax or shellac disappear with a quick touch-up using a matching tinted paste or a fresh dab of solvent on a rag. Deeper gouges in varnish demand targeted spot-scraping and careful feathering with fine abrasives before blending a new drop of finish into the repair zone. Treat your furniture gently, address liquid spills immediately, and the wood will continue to develop an even richer, deeper patina as it ages in your home.